Turbocharge Your Python Setup in Just 15 Minutes for Bulk Domain Index Status Checks! [With Screenshots]
- 1. Install Python
- 2. Set up the “playground”
- 3. Get some private proxies
- 4. Run the script
- 5. Final notes
- Final Thoughts

In the wake of the most recent Google Update, multiple people have reported that many domains have been deindexed due to manual penalties.
For now, it appears that Google is penalizing websites with a large amount of AI-generated or low-quality content. Although there are some instances of Google penalizing websites in public case studies, we anticipate these will be in the minority, as not everyone builds and grows their site publicly.
As an agency, we haven’t seen any significant decline in our clients’ traffic. We believe in future-proofing our clients’ websites with human-written, human-edited content, contributing to their continued success. Maybe our content-producing process will change in the future with more AI help, but, for now, natural content with human touch is still our bread and butter.
That being said, besides content on our client’s websites, we must pay attention to one of the most important signals — backlinks.
If Google is going after spammy websites, guest-posting websites may be targeted, too.
If guest posting sites are deemed unsuitable for Google (i.e. deindexed), then any links directed to our client’s sites are a bad signal and must be dealt with immediately. Also, it’s good practice to clean up a link-building list by removing deindexed domains.
Sure, if there are only a handful of sites to check, then reviewing everything manually might work.
But, if you have hundreds or thousands of them, you can’t even scratch the surface before Google blocks your IP.
Don’t worry! We’ve got you. In this article, we’ll walk you through the step-by-step process we use for bulk domain index status checks. Let’s get into it.
So, what’s the solution?
Python.
You can use Python to write a script that checks a large list of sites to determine which ones are still indexed in Google while cycling through proxies. While that might sound daunting to set up, it’s super easy to do, and we will show you exactly how to do it using our script.
1. Install Python
First, you need to install Python on your computer.
You can go to https://www.python.org/downloads/ and download the version of your choice.

In this tutorial, we used Python 3.11.8.
Once the download is done, open the installer & let it run.
Note: You can use web-based versions such as Jupyter or Deepnote. But we believe using Python on your local machine works best, especially when you need to use proxies. You might be able to set up proxies on web-based versions, but we weren’t able to do so. If you find a way, please let us know in the comment below.
2. Set up the “playground”
Once Python is set up, you need an environment to run the script. In this tutorial, our choice is
To install Jupyter on your local machine, you must ensure you have a working pip – the recommended installation for Python.
On Windows, you can do so by:
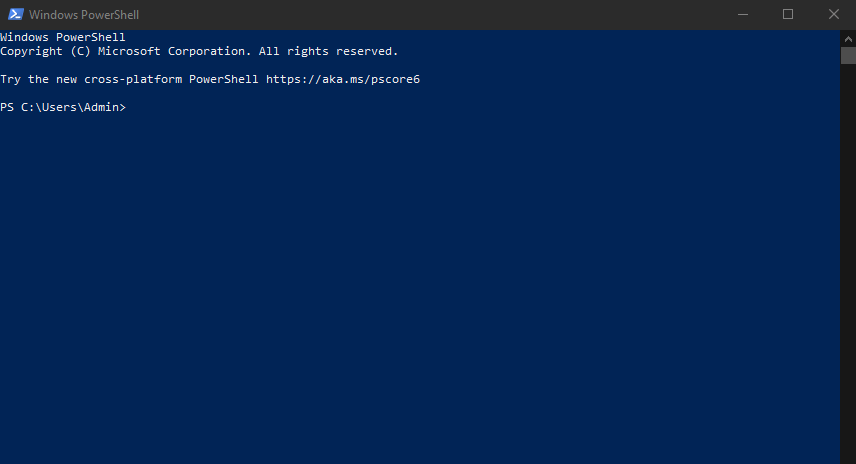
- In your Windows search bar, type “powershell”
- Press Enter or click on Windows PowerShell

- After that, you’ll see this window pop up
- Type the following line in:
py –version
- Then, type the following line in:
py -m pip –version
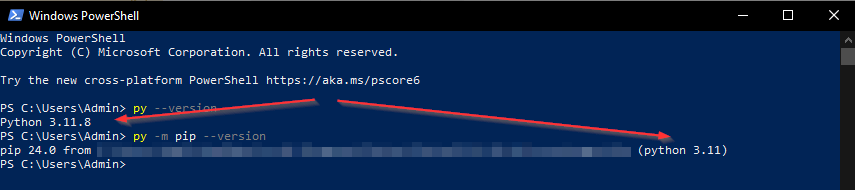
If the final result shows up like the screenshot above, congratulations! You have a working pip and are ready to install Jupyter.
Note: if you’re not using Windows then please go to this resource for more information https://pip.pypa.io/en/stable/getting-started/
- Now, after you confirm that you have a working pip, in that same PowerShell window, type in the following line and let it run
py -m pip install jupyterlab
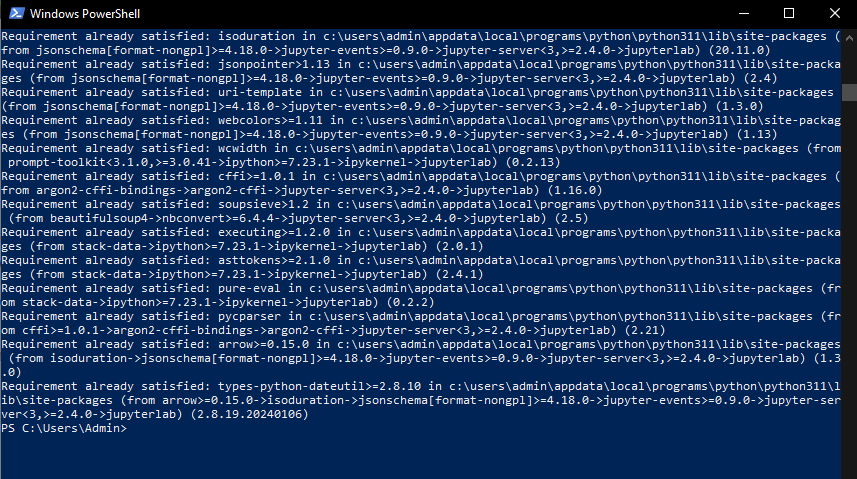
As my computer already has Jupyterlab installed, you’ll see “Requirement already satisfied” In the screenshot.
After it’s done running, Jupyterlab is ready for you to use!
3. Get some private proxies
Why proxies?
Well, you don’t want Google to block your IP, right? And it will take ages to scrape everything you need, even if it’s possible with one single IP.
There are many private proxy vendors at various price ranges so feel free to choose your favorite. We use SquidProxies in this tutorial. We have no affiliation with them, we just bought it at our own convenience.
After you pay for the service, in addition to your username and password, you’ll receive a list of proxies to use.

If your vendor requires IP authorization, you must add your IP to their whitelist, or your Python script can’t connect to the proxies.
This is also a reason why we chose to use Python locally. It’s easier to whitelist our IPs than using web-based versions.
That being said, after this step, you need to keep three things handy:
- Your username
- Your password
- Your list of proxies
4. Run the script
To run Jupyterlab on your local machine, in the same PowerShell window, type in:
py -m jupyterlab
CAUTION: you need to keep the Windows PowerShell window open, or the script won’t run because it serves as the connection between Jupyter and your local machine.
Don’t ask why I know this. (Yes.. I accidentally did this the first time and learned the hard way.)

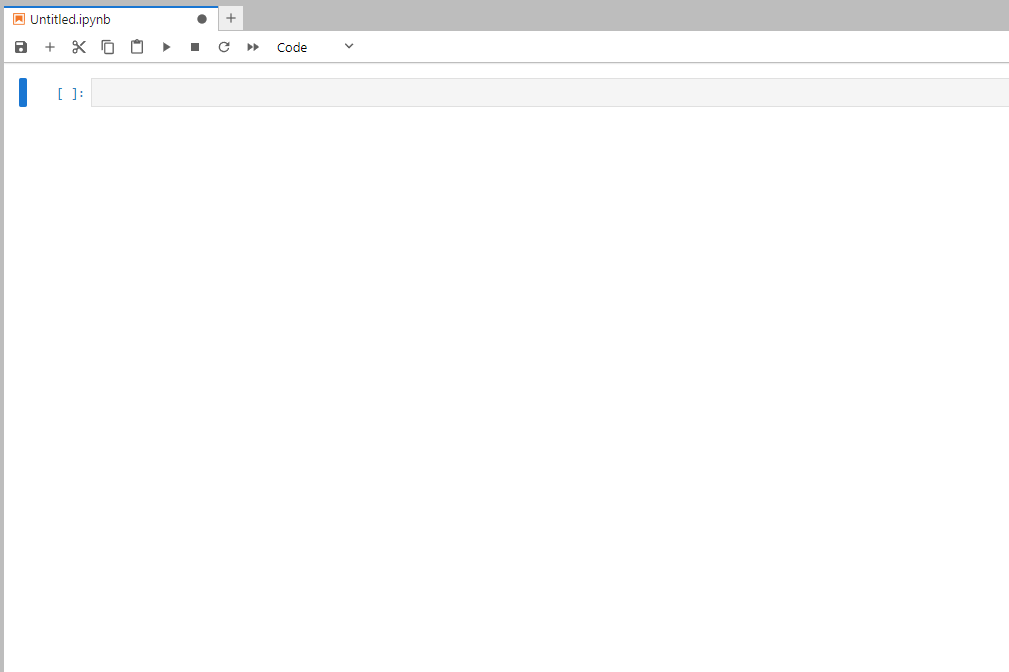
After a few seconds, this tab will pop up in your browser:
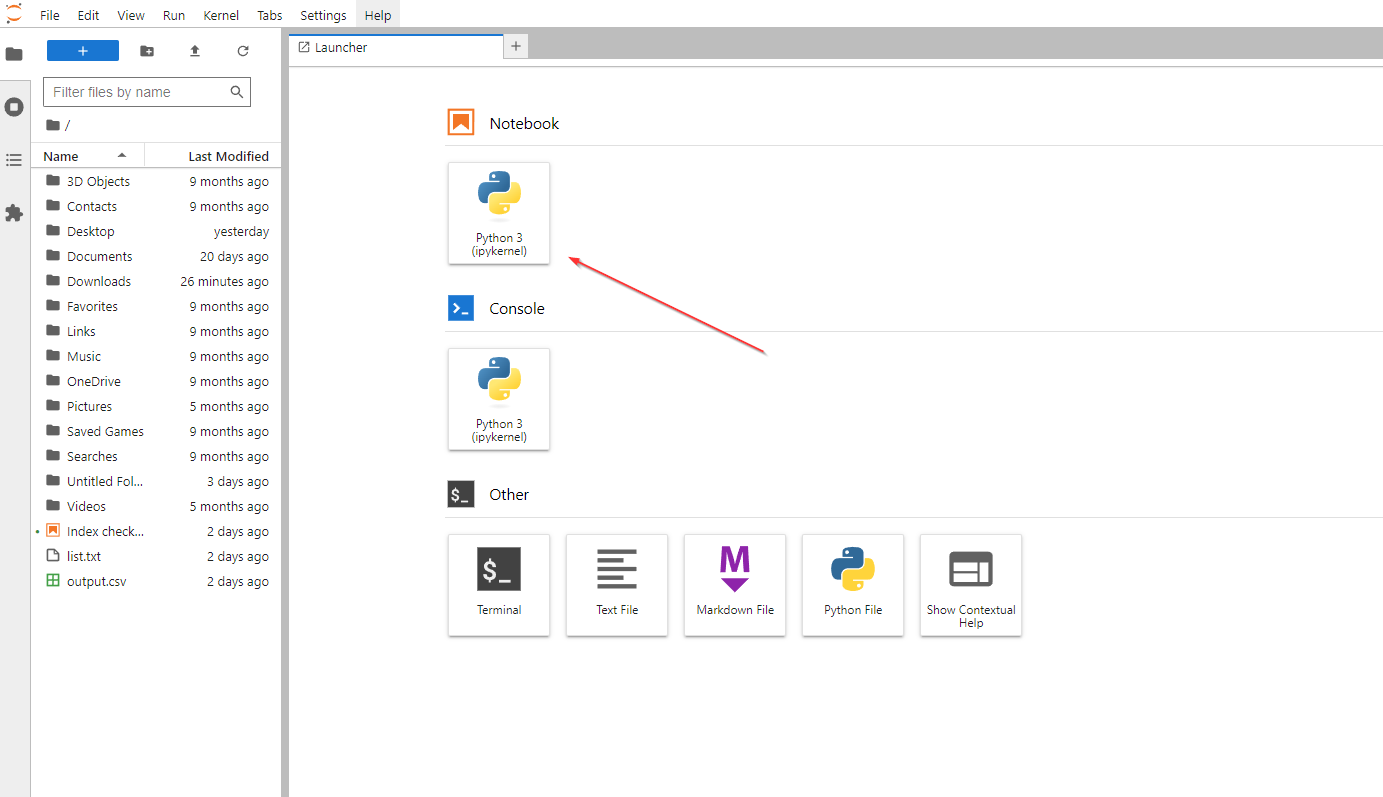
Now, click on Python 3 (under Notebook), and it’ll create a new Python notebook for you.
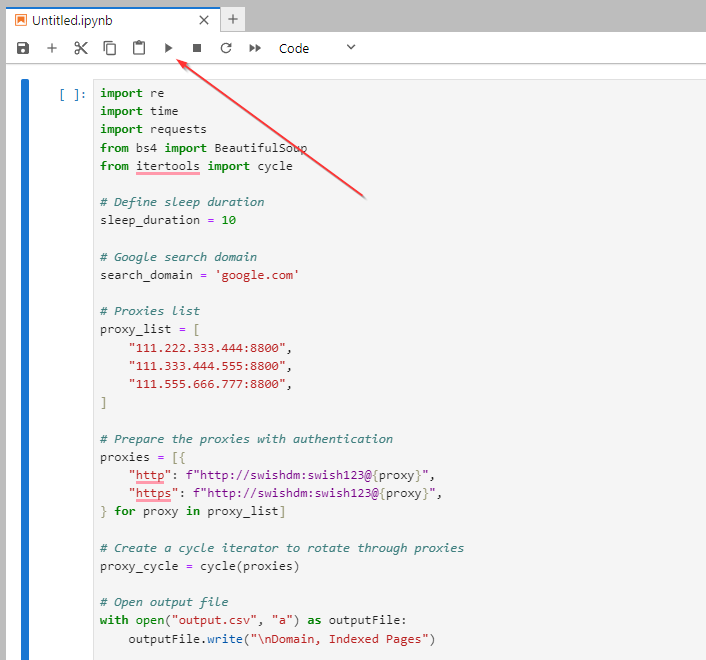
In the newly created Python notebook, you can paste the following script (inspired by Shane Jones).
import re
import time
import requests
from bs4 import BeautifulSoup
from itertools import cycle

# Define sleep duration
sleep_duration = 10

# Google search domain
search_domain = 'google.com'

# Proxies list
proxy_list = [
    "proxy-1",
    "proxy-2",
    "proxy-3",
]

# Prepare the proxies with authentication
proxies = [{
    "http": f"http://user:pass@{proxy}",
    "https": f"http://user:pass@{proxy}",
} for proxy in proxy_list]

# Create a cycle iterator to rotate through proxies
proxy_cycle = cycle(proxies)

# Open output file
with open("output.csv", "a") as outputFile:
    outputFile.write("\nDomain, Indexed Pages")

    # Read domains from list
    with open('list.txt') as domain_file:
        for line in domain_file:
            domain = line.strip()
            if not domain:
                continue

            # Get the next proxy from the cycle
            proxy = next(proxy_cycle)

            # Prepare headers
            headers = {
                "User-Agent": "Mozilla/5.0 (Macintosh; Intel Mac OS X 10.14; rv:65.0) Gecko/20100101 Firefox/66.0"
            }

            try:
                # Perform search with rotating proxy
                response = requests.get(
                    f'https://www.{search_domain}/search?q=site:' + domain.replace(" ", "+"),
                    headers=headers,
                    proxies=proxy,
                    timeout=10
                )
                time.sleep(sleep_duration)

                soup = BeautifulSoup(response.content, 'html.parser')
                result_stats = soup.find(id='result-stats')

                if result_stats:
                    results_text = result_stats.get_text(strip=True)
                    results_number = re.findall(r'([\d,]+)', results_text)
                    indexed_pages = results_number[0].replace(",", "") if results_number else '0'
                else:
                    indexed_pages = '0'

                print(domain + " - complete")
                outputFile.write(f"\n{domain}, {indexed_pages}")

            except Exception as e:
                print(f"Error fetching data for domain {domain}: {e}")

print("Done")
The Python script will look like this after you paste it into Jupyter notebook
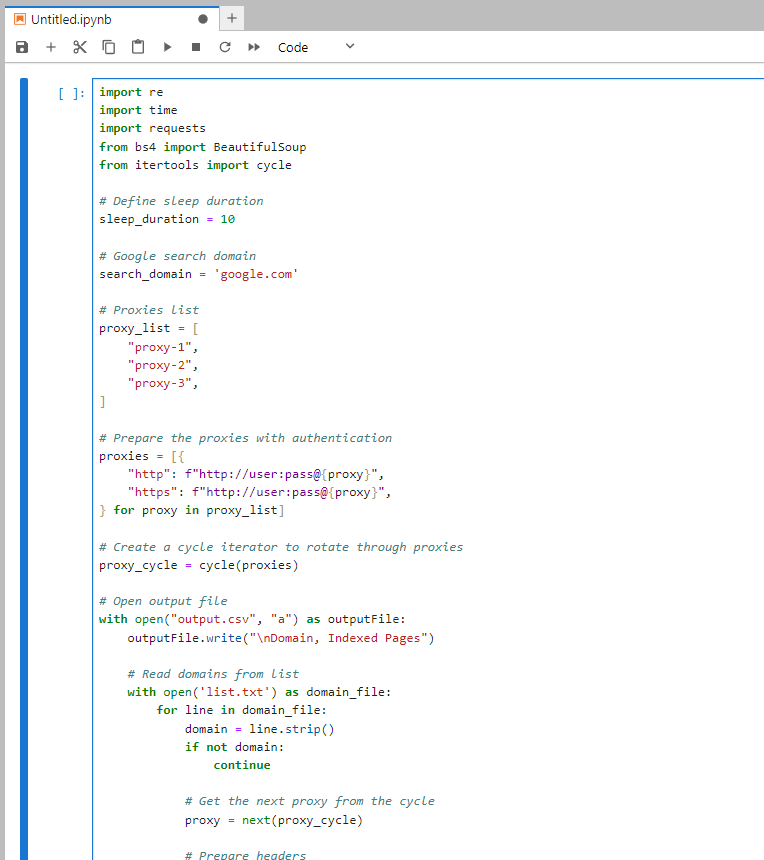
Isn’t she lovely?
We can explain what each line does, but this is not a Python tutorial, and I’m sure most people don’t even want to know.

So, I’ll just explain what needs to be changed in the script above.
- sleep_duration = 10 (refer to # Define sleep duration)
In our test, 10 seconds is the sweet spot. It helps the script run smoothly without Google blocking any IPs. If you want to stay on the safe side of things, then change it to 15 or even 20.
- proxy_list (refer to # Proxies list)
With the proxies that you just received (after step 3), you need to add them to the list here.
For example, if your proxies are:
- 111.222.333.444:8800
- 111.333.444.555:8800
- 111.555.666.777:8800
Then, the script will look like this.
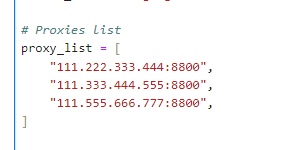
You can add as many proxies as you want, but remember the quotation marks and the comma at the end of each proxy.
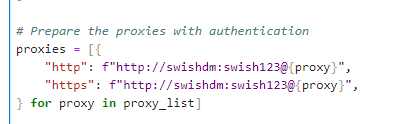
- proxies (refer to # Prepare the proxies with authentication)
With the proxies set, you now need to input the login information to your proxies (they’re usually the login information to your proxy vendor. Please refer to step 3 above)
For example, if your proxies are:
- Username: swishdm
- Password: swish123
Then the script will look like this
- Domain list to check (refer to # Read domains from list)
Currently, we set the domain list file to list.txt, but you can change it to anything that fits your naming structure.
If you want to follow our script, then you need to put all your domains into a .txt file and name it list.txt

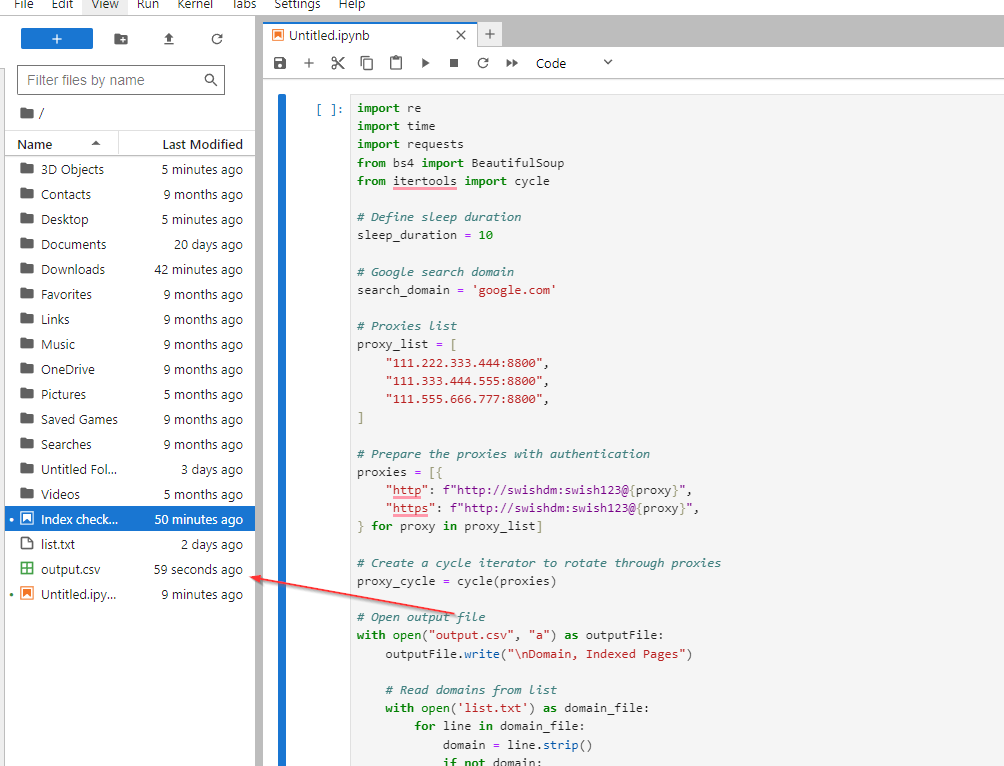
Once the file is created, upload it to Jupyter on your local machine by following the steps in the screenshot below:

With the domain list uploaded, you have everything you need to run the script.
Click the start button at the top and let Python do its magic!
ANOTHER CAUTION: if you missed the last caution, remember to keep Windows PowerShell running so the script can run properly. Yes, it’s tempting to close unnecessary windows when working on a bazillion things simultaneously, but seriously — don’t do it.
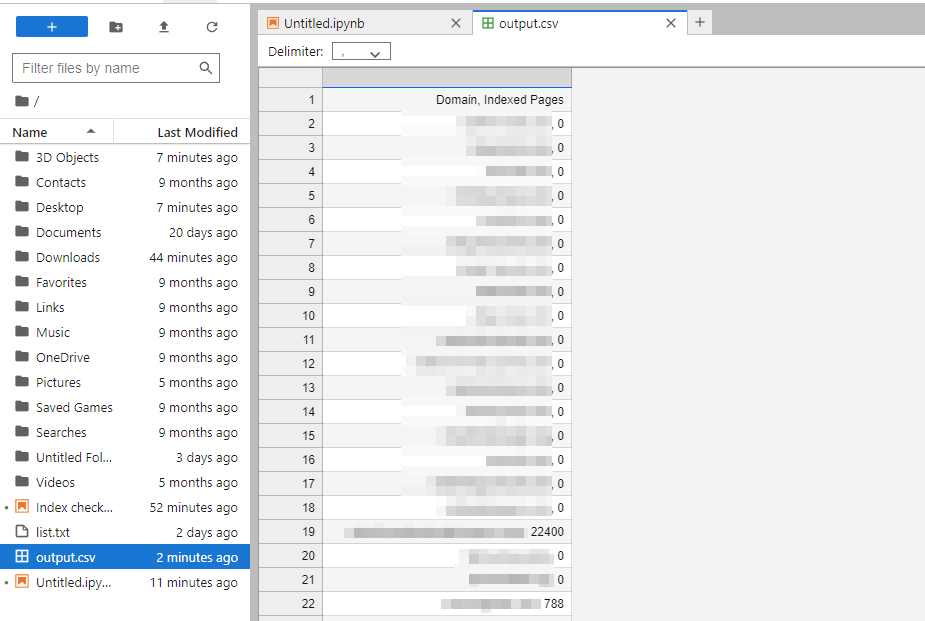
After the script runs, a new file called output.csv will be created.
Double-click on the newly created file to see all the juicy stuff!
Now, right-click on the file name (on the left sidebar) and click Download.
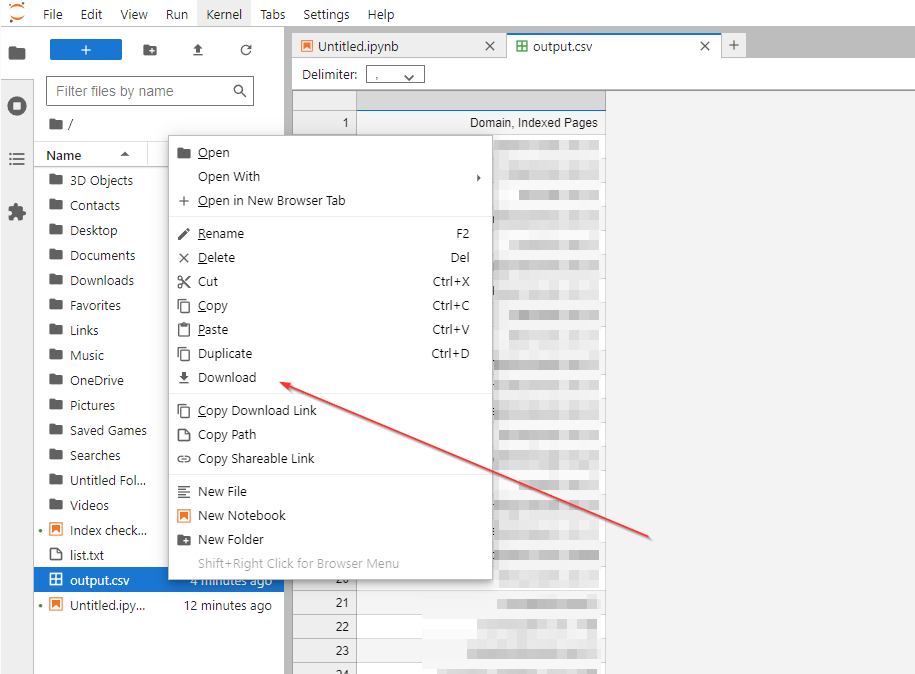
Now you have a CSV file of all the domains and their number of indexed pages!
5. Final notes
There are a few things to keep in mind when you run this script:
- The number of indexed pages in the CSV file and on Google search might be different. But, we’re not doing rocket science here. We’re just looking for a solution to bulk-check domain indexing status.
- It’s worth running another separate scrape for domains that show up with 0 indexed pages on the CSV file. Sometimes, Google will timeout/block the proxies, which could result in false positives.
- As the update is still rolling out, there might be some changes in your initial result. For example, after our internal review, 4 domains in our list were once deindexed but have now returned to the SERPs.
Final Thoughts
Whether you’re on a massive cleanup mission during the most recent algo update, or you’re doing routine site cleanup, you can’t go wrong using the methods in this article. With this straightforward step-by-step guide, we’re confident you’ll save time and do awesome work on your projects.
Think there’s something we missed in this write-up? Need help with your website? Get in touch with us here. We’re always excited to learn about new projects and see if we can serve you.